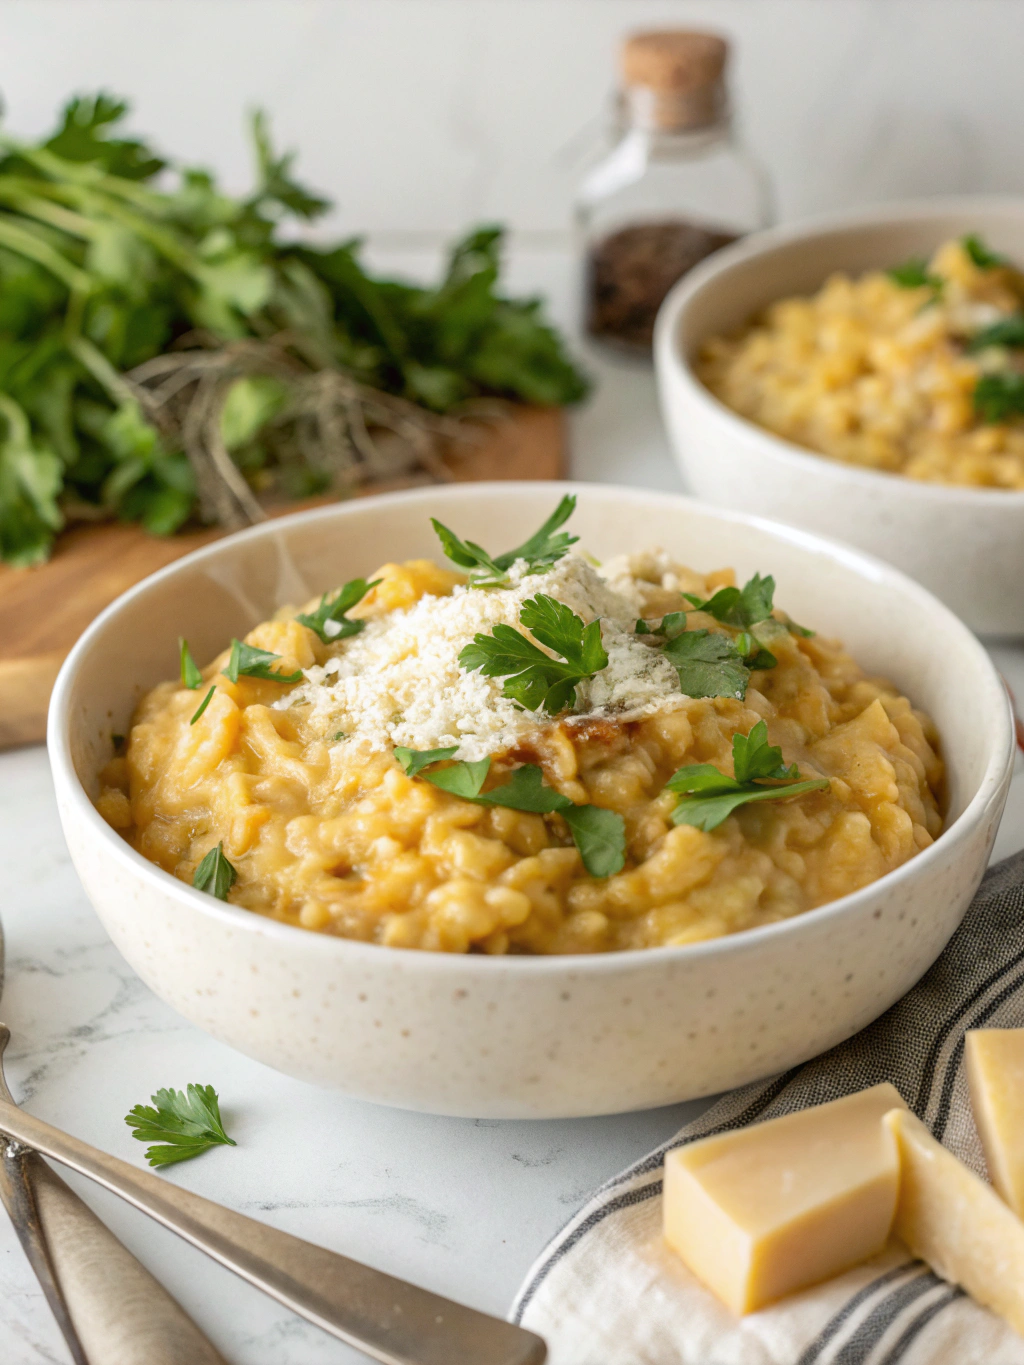
Perfect Gluten-Free Risotto: Creamy, Comforting, and Completely Celiac-Safe
Have you ever been told that authentic risotto is impossible to make gluten-free? Or perhaps you’ve struggled with gummy, flavorless alternatives that left you missing the real thing? What if I told you that a truly luxurious, restaurant-quality gluten-free risotto is not only possible but simple to create in your own kitchen?
The secret to perfect gluten-free risotto lies in understanding that traditional risotto is naturally gluten-free when made with the right ingredients. Arborio rice, the classic choice, contains no gluten—making this Italian comfort food an ideal option for those with celiac disease or gluten sensitivity.
Today, I’ll guide you through creating a creamy, indulgent gluten-free risotto that rivals any traditional version. With careful attention to ingredients and technique, you’ll master this versatile dish that can be customized to your taste preferences and dietary needs.
Ingredients List
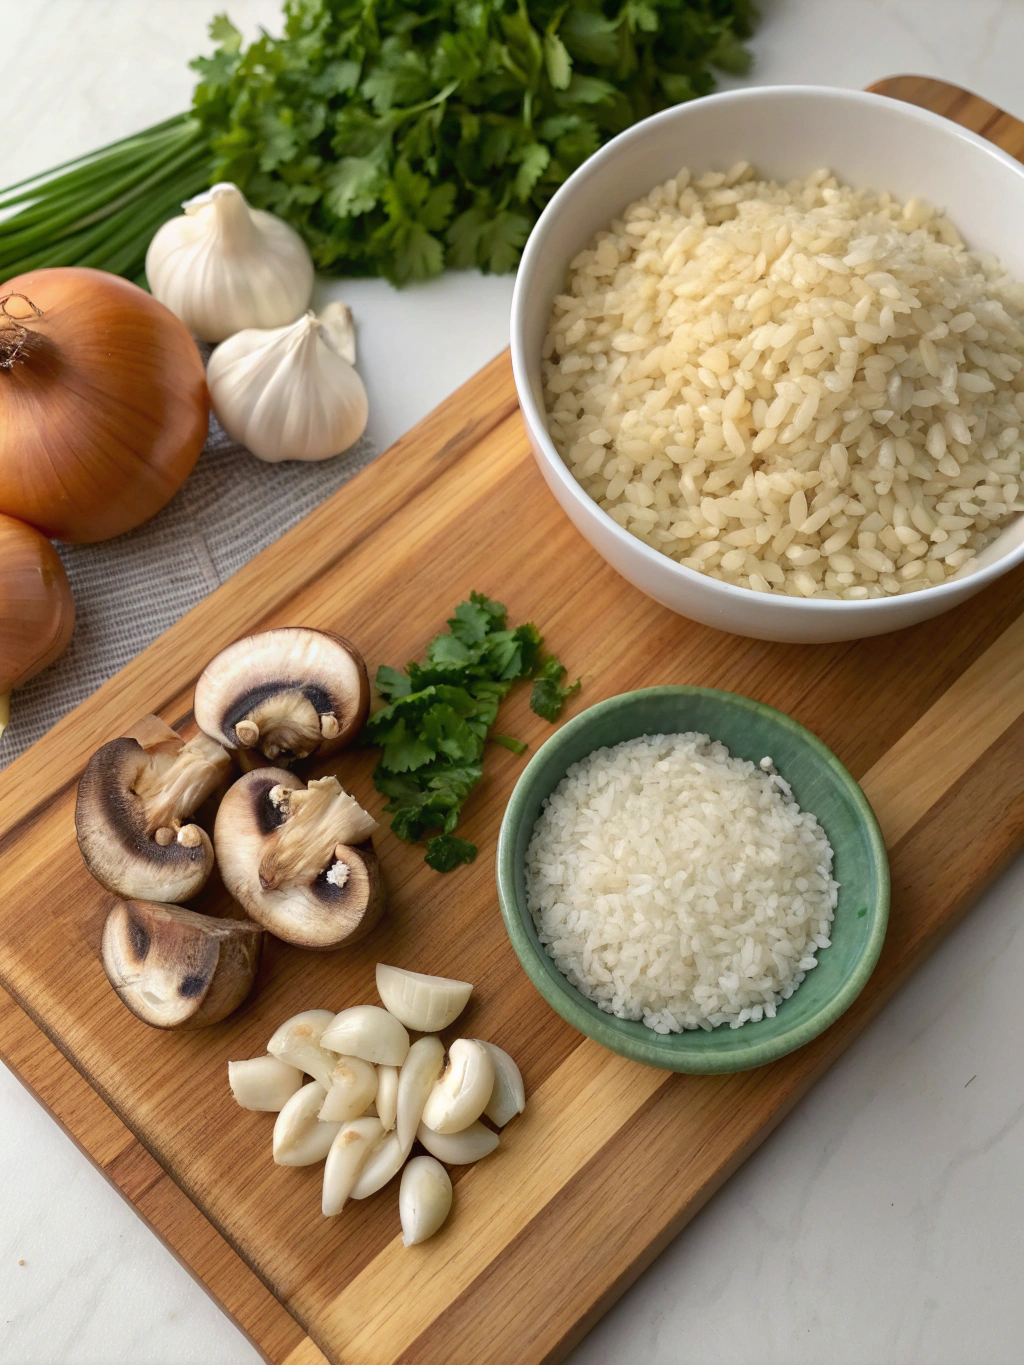
- 2 cups Arborio rice – The traditional risotto rice, naturally gluten-free with its high starch content for creaminess
- 6-7 cups gluten-free vegetable or chicken broth – Always check labels to ensure no gluten-containing additives
- 1 medium onion, finely diced – Yellow or white works perfectly
- 3 cloves garlic, minced – Adjust according to your preference
- 1/2 cup dry white wine – Verify it’s gluten-free; can substitute with additional broth plus 1 tablespoon lemon juice
- 3 tablespoons olive oil – Extra virgin adds the best flavor
- 4 tablespoons butter, divided – For dairy-free, substitute with olive oil or plant-based butter
- 1 cup freshly grated Parmesan cheese – For dairy-free, use nutritional yeast or dairy-free Parmesan alternative
- Salt and freshly ground black pepper – To taste
- 1/4 cup fresh parsley, chopped – For garnish and fresh flavor
Optional add-ins: sautéed mushrooms, roasted butternut squash, fresh peas, or asparagus pieces can be folded in at the end of cooking for variety and nutritional boost.
Timing
Preparation Time: 15 minutes
Cooking Time: 35-40 minutes
Total Time: 50-55 minutes
While traditional risotto has a reputation for being time-consuming, this gluten-free risotto actually requires less active stirring than most recipes suggest. The key is maintaining a gentle simmer and adding warm broth gradually, which results in perfectly cooked rice in about 35 minutes—comparable to many standard dinner preparations.
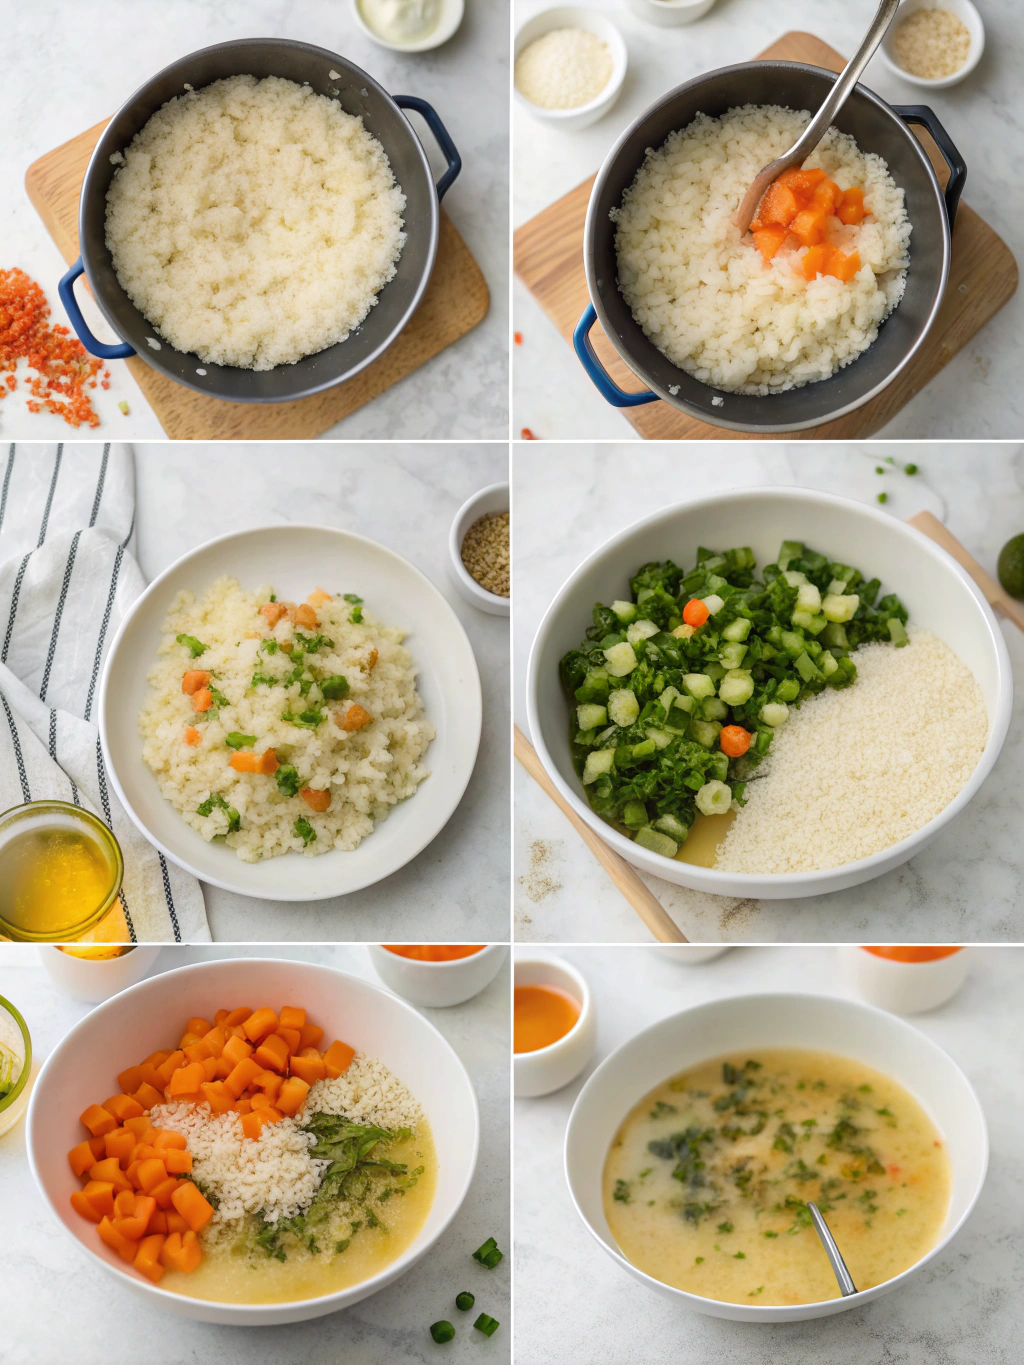
Step-by-Step Instructions
Step 1: Prepare Your Workspace
Before beginning, ensure all ingredients are measured and prepared. Warm your broth in a separate pot until hot but not boiling. Keeping the broth hot is crucial for proper absorption and maintaining the cooking temperature when added to the rice.
Step 2: Sauté the Aromatics
In a large, heavy-bottomed pan or Dutch oven, heat 2 tablespoons of butter and the olive oil over medium heat. Add the diced onion and cook until translucent, about 3-4 minutes. Add the minced garlic and cook for another 30 seconds until fragrant, being careful not to brown or burn it.
Step 3: Toast the Rice
Add the Arborio rice to the pan and stir to coat each grain with the oil and butter mixture. Cook for 2-3 minutes, stirring frequently, until the edges of the rice grains become slightly translucent while the centers remain white. This toasting step is essential for developing flavor and the proper texture.
Step 4: Deglaze with Wine
Pour in the white wine and stir constantly until almost completely absorbed. You’ll know it’s ready when there’s no liquid pooling at the bottom of the pan and the alcohol smell has dissipated, usually about 2 minutes. This step adds depth of flavor to your risotto.
Step 5: Begin Adding Broth
Add about 1 cup of the hot broth to the rice. Stir gently and frequently until the liquid is mostly absorbed. The key is maintaining a gentle simmer—not too hot and not too cool. The rice should be bubbling lightly as it cooks.
Step 6: Continue the Broth Cycle
Continue adding broth, about 1/2 to 3/4 cup at a time, stirring until each addition is mostly absorbed before adding more. This gradual process allows the rice to release its starches, creating the signature creamy texture without becoming gummy or sticky.
Step 7: Test for Doneness
After about 25-30 minutes of adding broth, begin testing the rice. Perfectly cooked risotto should be al dente—tender but with a slight firmness in the center. The overall texture should be creamy and flowing, not stiff or dry. You may not need all the broth, or you might need a little more.
Step 8: Finish with Butter and Cheese
Once the rice reaches the desired consistency, remove from heat. Stir in the remaining 2 tablespoons of butter and the Parmesan cheese. This final addition, called “mantecatura,” is what gives risotto its luxurious finish. Season with salt and pepper to taste.
Step 9: Rest and Serve
Cover the pan and let the risotto rest for 2 minutes. This brief resting period allows the flavors to meld and the texture to reach perfection. Serve immediately, garnished with fresh parsley, and additional Parmesan if desired.
Nutritional Information
This gluten-free risotto recipe yields approximately 4-6 servings with the following nutritional profile per serving (based on 6 servings):
Calories: 420 kcal
Carbohydrates: 58g
Protein: 10g
Fat: 16g
Saturated Fat: 7g
Cholesterol: 30mg
Sodium: 650mg (varies based on broth used)
Fiber: 2g
Sugar: 2g
Arborio rice provides complex carbohydrates that release energy slowly, while the protein from cheese helps create a more balanced meal. The fat content comes primarily from heart-healthy olive oil and moderate amounts of butter and cheese.
Healthier Alternatives for the Recipe
To make this risotto even more nutritious while maintaining its delicious flavor profile, consider these modifications:
Reduce Butter and Cheese: Cut the butter to 2 tablespoons total and reduce Parmesan to 1/2 cup for a lighter version that still maintains creaminess.
Boost Fiber Content: Mix in 1/4 cup of cooked quinoa during the final broth addition to increase protein and fiber while maintaining the gluten-free status.
Add Vegetables: Incorporate 2 cups of finely chopped vegetables like spinach, kale, or roasted butternut squash in the final cooking stage to boost nutritional value and add color.
Use Brown Arborio Rice: Some specialty stores offer brown Arborio rice, which retains more fiber and nutrients. Note that it will require about 10-15 minutes additional cooking time.
Serving Suggestions
Elevate your gluten-free risotto with these serving ideas that complement its creamy texture and rich flavor:
As a Main Course: Serve in shallow bowls topped with seared gluten-free scallops or grilled shrimp for an elegant dinner. A simple arugula salad with lemon vinaigrette makes the perfect accompaniment.
As a Side Dish: Pair smaller portions with roasted chicken or grilled fish. The creamy risotto beautifully balances leaner protein options.
For Entertaining: Create a risotto bar with various toppings in small bowls—roasted vegetables, different cheeses, herbs, and toasted pine nuts—allowing guests to customize their servings.
Seasonal Adaptations: In summer, fold in fresh corn and basil; in fall, incorporate roasted butternut squash and sage; in winter, add roasted mushrooms and thyme; in spring, celebrate with fresh peas and mint.
Common Mistakes to Avoid
- Using Cold Broth: Always keep your broth hot during the cooking process. Cold broth shocks the rice, interrupting the cooking process and resulting in uneven texture.
- Stirring Too Vigorously: While risotto needs attention, aggressive stirring can break the rice grains. Use gentle, consistent stirring motions instead.
- Adding Too Much Broth at Once: Patience is key—add broth gradually to allow proper absorption and starch release for that signature creaminess.
- Not Checking Broth Labels: Not all broths are gluten-free. Always verify that your broth contains no gluten-containing additives or flavorings.
- Overcooking: Perfect risotto should be al dente, not mushy. Start testing for doneness after 25 minutes of adding broth.
- Skipping the Rest Period: Those final 2 minutes of covered resting allow the risotto to achieve its ideal consistency and flavor integration.
Storing Tips for the Recipe
While risotto is best enjoyed fresh, proper storage can help maintain quality for leftovers:
Refrigeration: Cool risotto completely before transferring to an airtight container. Refrigerate for up to 3 days. When reheating, add 2-3 tablespoons of broth or water per cup of risotto to restore creaminess.
Freezing: Risotto can be frozen for up to 1 month. Portion into individual servings before freezing for easier reheating. Thaw overnight in the refrigerator before reheating gently on the stovetop with added liquid.
Make-Ahead Components: To save time, you can sauté the aromatics and toast the rice ahead of time (steps 1-3), then refrigerate. Resume cooking within 24 hours by warming the rice mixture and proceeding with adding broth.
Arancini Transformation: Turn leftover risotto into gluten-free arancini (rice balls) by forming cold risotto into balls, rolling in gluten-free breadcrumbs, and baking until crisp—a delicious way to repurpose leftovers.
Conclusion
Mastering gluten-free risotto opens a world of possibilities for those avoiding gluten without sacrificing flavor or texture. The key lies in understanding that traditional risotto’s luxurious creaminess comes from the rice itself—not from gluten-containing ingredients.
By following these detailed steps and embracing the methodical nature of risotto-making, you’ll create a dish that’s not just “good for being gluten-free” but genuinely exceptional by any standard. The versatility of this recipe allows for countless variations to suit your taste preferences and seasonal ingredients.
Have you tried making this gluten-free risotto? I’d love to hear about your experience, variations, or questions in the comments below! Share your photos or favorite risotto add-ins to inspire our cooking community. Happy cooking!