Crispy Homemade Dill Pickle Recipe: The Ultimate Guide to Pickling Perfection
Have you ever wondered why store-bought pickles never quite match the crisp, tangy perfection of those served at your favorite deli? The secret lies not in fancy equipment or hard-to-find ingredients, but in mastering a proper dill pickle recipe that balances flavors while maintaining that satisfying crunch.
Creating your own pickles at home isn’t just economical—it’s a gateway to customizing flavors exactly to your preference. This comprehensive dill pickle recipe will guide you through creating jars of pickle perfection that will elevate your sandwiches, burgers, and snacking experiences.
Ingredients List
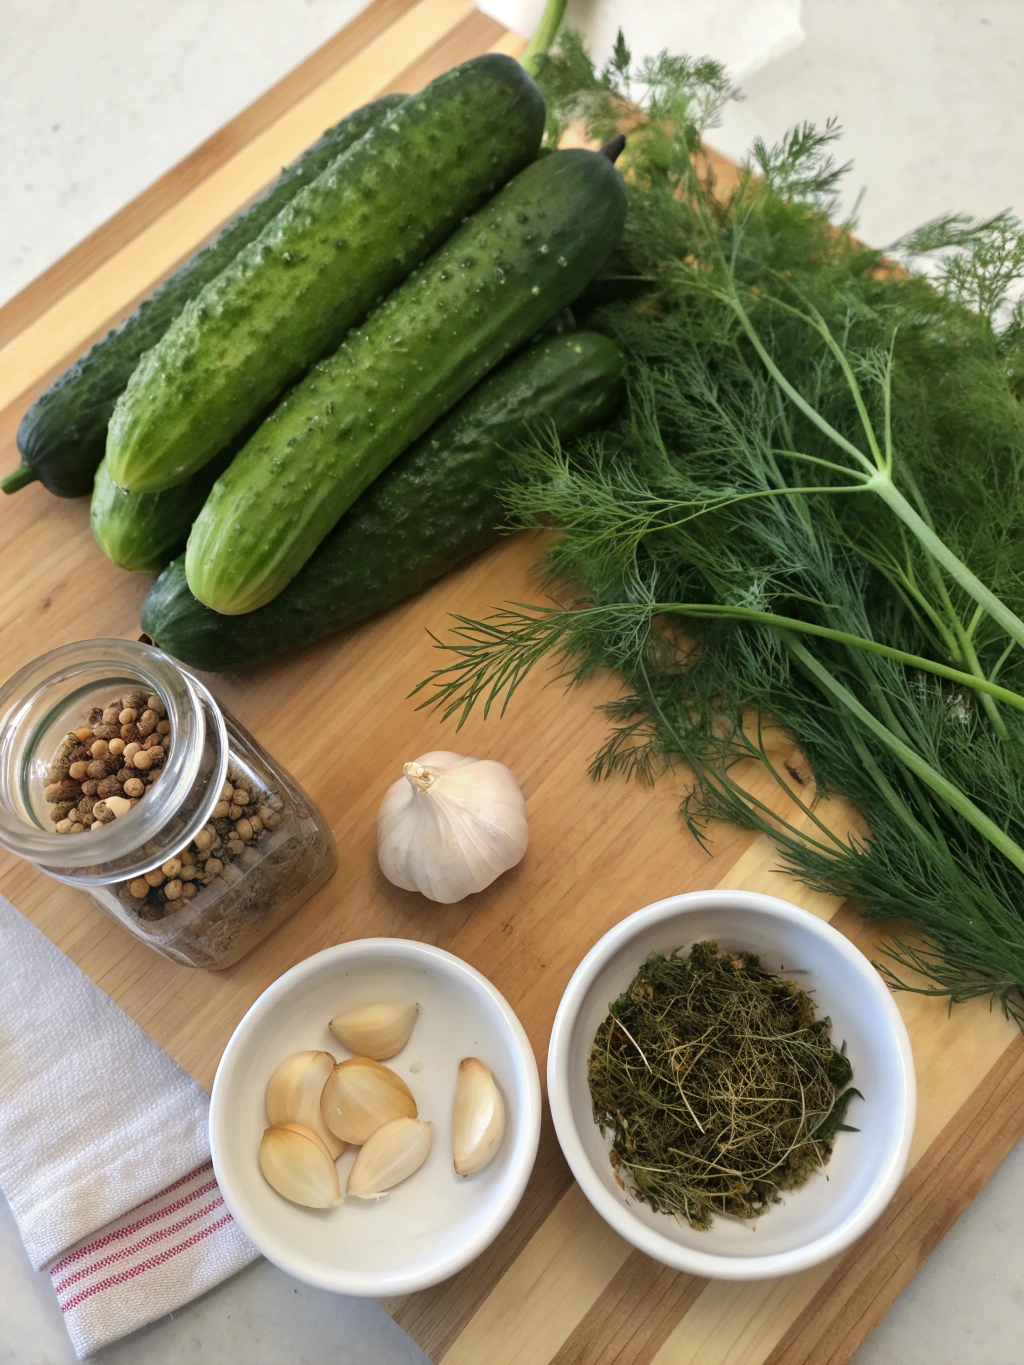
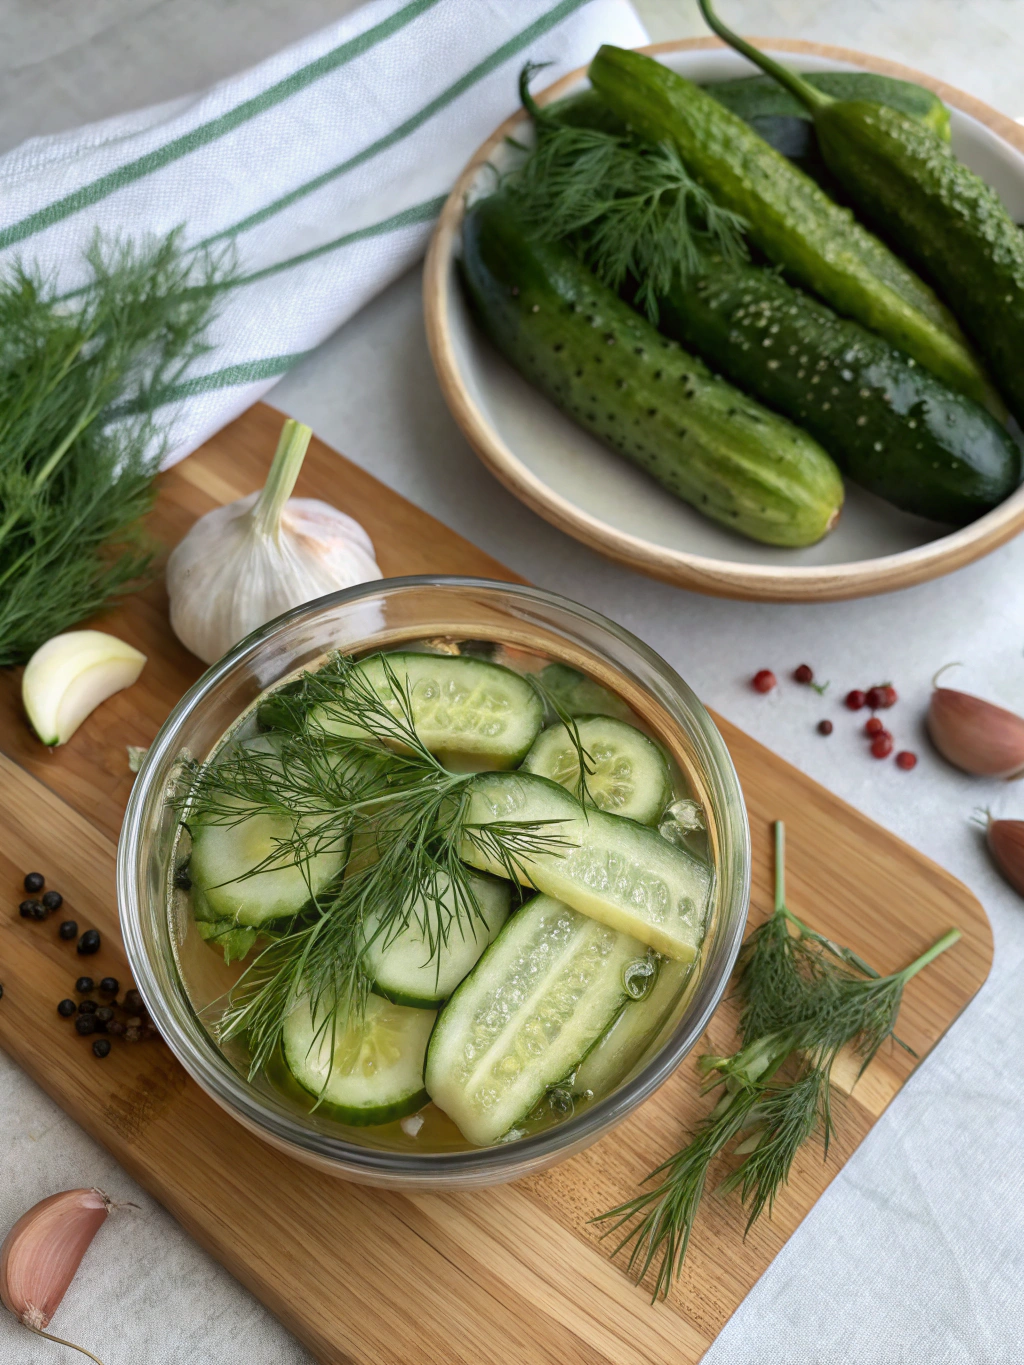
The foundation of any exceptional homemade dill pickle recipe starts with quality ingredients. Fresh produce and the right balance of spices create that perfect pickle flavor profile.
- 4-5 pounds pickling cucumbers (Kirby variety recommended for crispness)
- 6 cups water
- 3 cups white vinegar (5% acidity)
- 1/3 cup pickling salt (can substitute with kosher salt, but avoid iodized salt)
- 8-10 large fresh dill sprigs (or 3 tablespoons dill seeds)
- 8 cloves garlic, peeled and lightly crushed
- 2 tablespoons whole black peppercorns
- 2 tablespoons mustard seeds
- 1 tablespoon coriander seeds
- 2 teaspoons red pepper flakes (adjust to taste for heat)
- 2 bay leaves
For a twist on the classic recipe, consider adding 1 tablespoon of pickling spice blend or 1-2 tablespoons of fresh horseradish for extra zing. Those seeking less vinegar flavor can replace part of the vinegar with additional water and a bit more salt.
Timing
Preparation time: 45 minutes (includes washing and slicing cucumbers)
Processing time: 15 minutes (for canned version)
Refrigeration time before eating: 48 hours minimum, but 5-7 days is ideal for flavor development
Total time to pickle perfection: Approximately 1 week from start to first taste
While this might seem lengthy compared to the 20-minute prep time of quick pickles, this traditional method yields pickles that maintain their crunch for months rather than days—a 500% improvement in shelf life over quick-pickle methods.
Step-by-Step Instructions
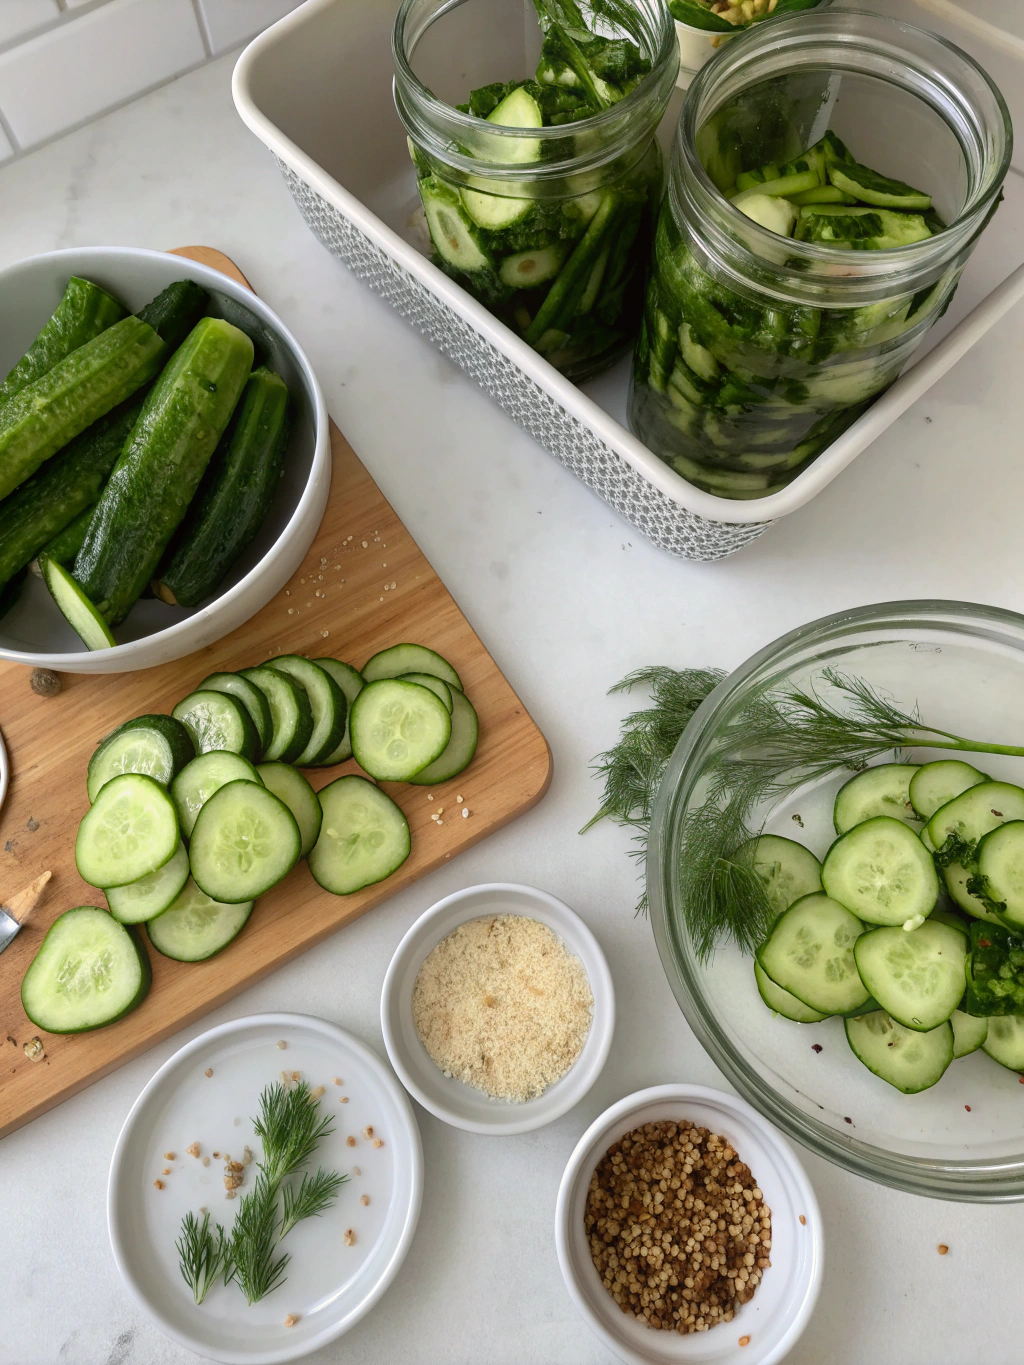
Step 1: Prepare Your Cucumbers
Select firm, unblemished pickling cucumbers for best results. Wash thoroughly and trim 1/8 inch from both ends (the blossom end contains enzymes that can soften pickles). For spears, quarter lengthwise; for chips, slice into 1/4-inch rounds. For whole pickles, ensure they’ll fit your jars with 1/2 inch headspace.
Step 2: Prepare Your Jars and Brine
If canning, sterilize mason jars and lids in boiling water for 10 minutes. For refrigerator pickles, thoroughly wash jars with hot, soapy water. In a large pot, combine water, vinegar, and salt. Bring to a boil, stirring until salt completely dissolves.
Step 3: Pack Your Jars
In each jar, place 1-2 dill sprigs, 1-2 garlic cloves, and a portion of the spices at the bottom. Pack cucumbers tightly but without crushing them. Add remaining dill and garlic on top. Leave 1/2 inch of headspace from the jar rim.
Step 4: Add Brine and Process (For Canned Pickles)
- Pour hot brine over cucumbers, maintaining 1/2 inch headspace
- Remove air bubbles by running a plastic or wooden tool around the inside edge
- Wipe jar rims clean and apply lids and bands
- Process in a boiling water bath for 10 minutes (adjust for altitude if necessary)
- Remove jars and cool completely (12-24 hours) before testing seals
Step 5: Refrigerator Method (For Quicker Pickles)
For refrigerator pickles, follow steps 1-3, then pour cooled brine over cucumbers. Seal jars and refrigerate for at least 48 hours before tasting, though flavor improves significantly after 5-7 days. These pickles will keep for 2-3 months in the refrigerator.
Step 6: The Waiting Game
The hardest part of any dill pickle recipe is patience! Canned pickles should cure for 4-6 weeks before opening to develop optimal flavor. Label your jars with the date to track aging. The flavor profile evolves dramatically between week 1 and week 6.
Nutritional Information
Dill pickles are a nutritional winner for those watching calories or seeking probiotic benefits. A standard serving (about 1 medium pickle or 4 slices) contains:
Calories: 12-15 kcal
Carbohydrates: 3g
Sodium: 800-1,200mg (varies based on brine concentration)
Vitamin K: 13% of Daily Value
Vitamin A: 4% of Daily Value
Probiotics: Present in refrigerator pickles (not in canned versions)
Research indicates that fermented foods like refrigerator pickles may support gut health through beneficial bacteria. Additionally, the vinegar in pickles has been linked to improved blood sugar regulation in some studies.
Healthier Alternatives for the Recipe
For those monitoring sodium intake, you can reduce salt by up to 25% while maintaining food safety. Using a mixture of white vinegar and apple cider vinegar (50/50) adds beneficial compounds while creating a more complex flavor profile.
Consider adding turmeric (1 teaspoon per batch) for anti-inflammatory benefits and a golden hue. For a sugar-free bread and butter style pickle, substitute monk fruit sweetener or stevia for traditional sugar, using approximately 1/4 the amount.
Experimenting with herbs like tarragon, basil, or thyme alongside traditional dill creates unique flavor combinations while adding different phytonutrients to your pickles.
Serving Suggestions
Beyond the classic sandwich accompaniment, these homemade dill pickles can elevate numerous dishes. Chop finely to create a zesty relish for hot dogs or fold into tuna salad for extra crunch and flavor.
Create a sophisticated charcuterie board featuring your pickles alongside sharp cheeses, which balance perfectly with the tangy brine. For a show-stopping Bloody Mary, use pickle spears as garnish and add a splash of the brine to the cocktail mixture.
Pickle juice itself deserves attention—try using it as a marinade base for chicken (it tenderizes beautifully) or mix with olive oil and herbs for a punchy salad dressing with zero waste.
Common Mistakes to Avoid
- Using table salt instead of pickling/kosher salt: Iodized salt causes cloudy brine and can impart a metallic taste.
- Skipping the blossom end removal: This small step prevents enzymes from causing soft, mushy pickles.
- Using old cucumbers: For maximum crispness, pickle within 24 hours of harvest or purchase.
- Overcrowding jars: Proper packing allows brine circulation and even flavor distribution.
- Reducing vinegar concentration: For food safety in canned pickles, maintain the 1:2 vinegar-to-water ratio.
- Opening too soon: Patience yields better flavor—resist sampling canned pickles before the 4-week mark.
Storing Tips for the Recipe
Properly sealed canned pickles can be stored in a cool, dark place for up to 12 months. Once opened, transfer to the refrigerator where they’ll maintain quality for 2-3 months.
Refrigerator pickles should always be kept chilled and consumed within 3 months for optimal flavor and texture. Always use clean utensils when retrieving pickles to prevent introducing bacteria.
For gift-giving, consider decorative labels noting the “best by” date (one year from canning) and whether the jar needs refrigeration after opening. Small jars make perfect hostess gifts or additions to holiday food baskets.
Conclusion
Mastering this dill pickle recipe opens the door to endless culinary creativity while connecting you to generations of food preservation traditions. The satisfaction of creating perfectly crisp, flavorful pickles from simple ingredients is unmatched.
Whether you’re a pickling novice or looking to refine your technique, these step-by-step instructions provide the foundation for pickle success. Why not gather your ingredients this weekend and start a batch? Your future self will thank you when reaching for that perfect homemade pickle to complete your next meal. Share your pickling adventures in the comments—we’d love to hear about your favorite variations!