Gluten Free Peppermint Cookies: A Festive Holiday Treat
Have you ever bitten into a holiday cookie only to be disappointed by a dry, crumbly texture that’s all too common with gluten-free baking? What if you could create perfectly chewy, minty cookies that no one would ever guess are gluten-free?
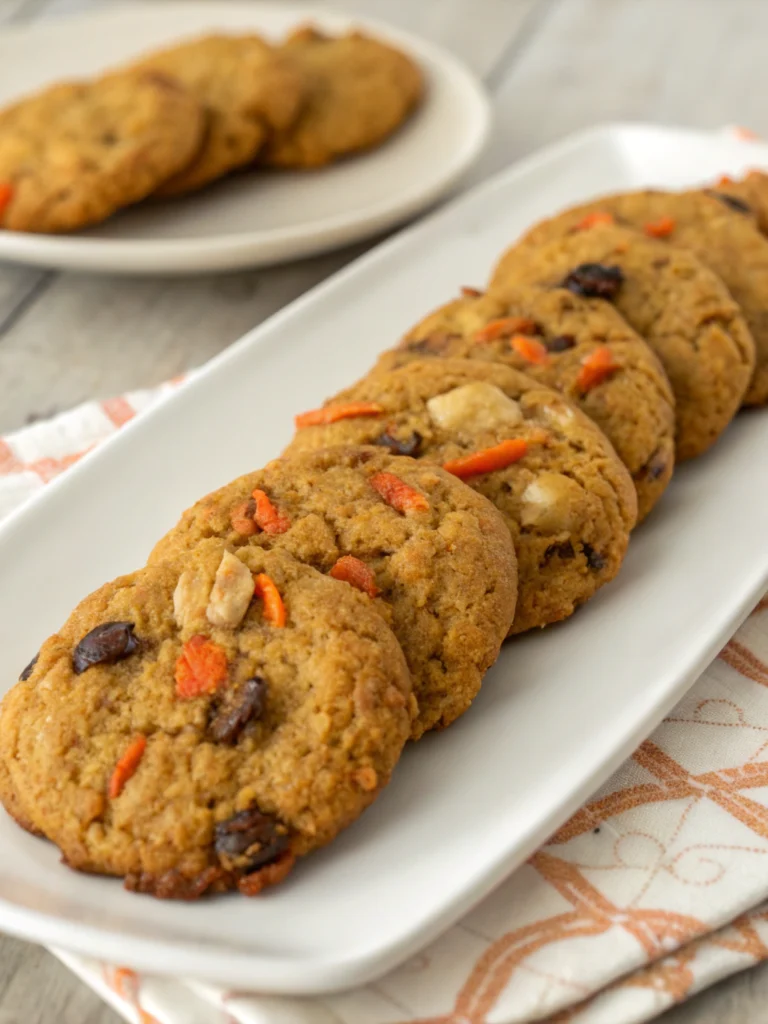
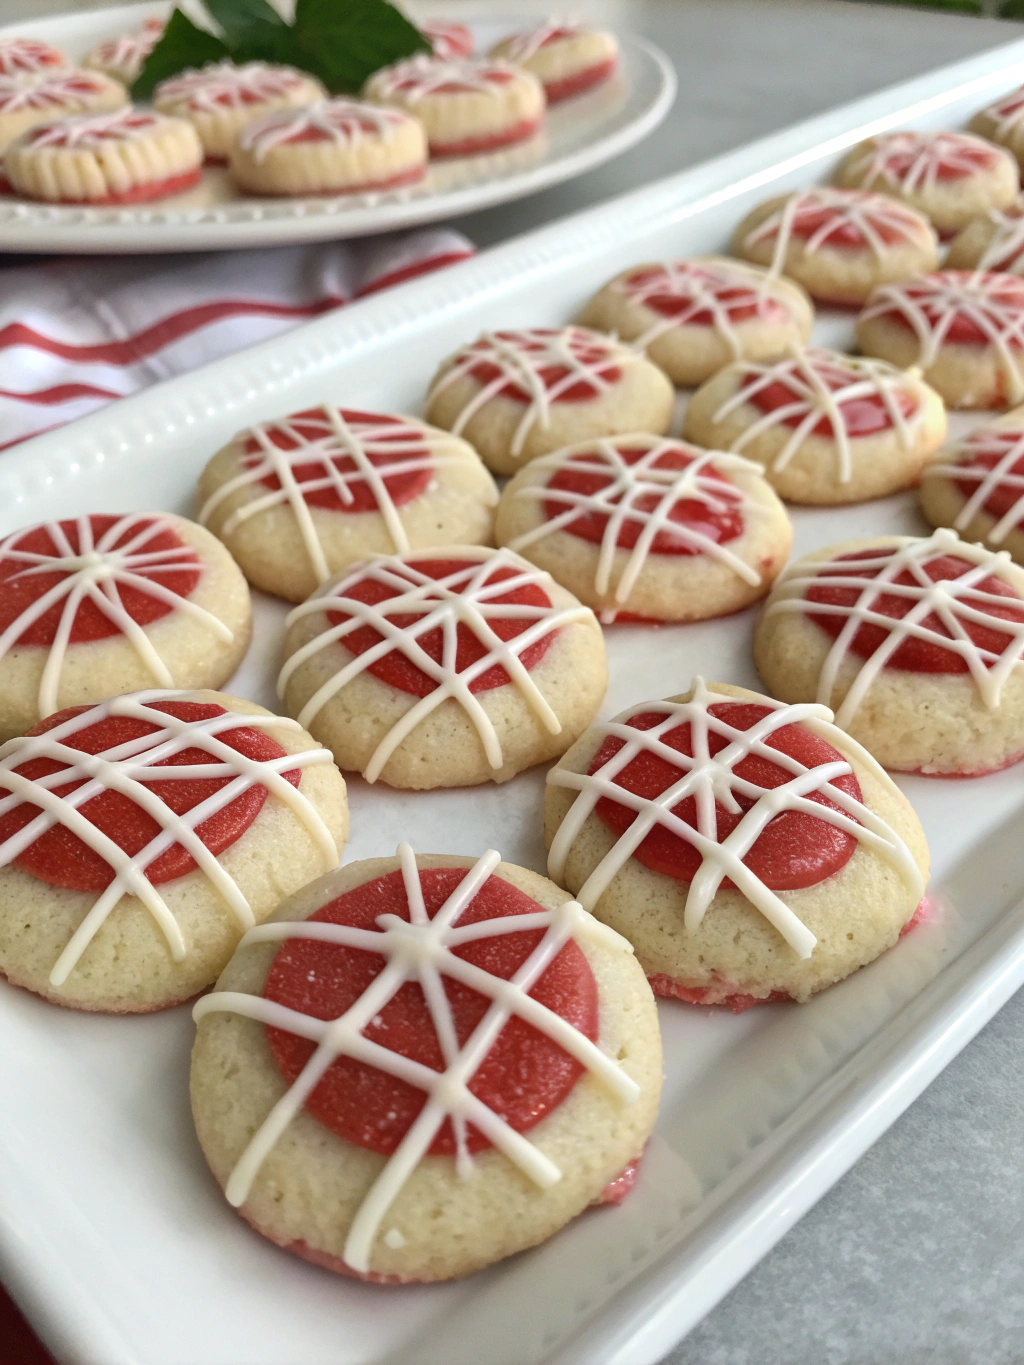
These gluten free peppermint cookies combine the refreshing zing of peppermint with a soft, tender crumb that rivals any traditional cookie. Perfect for holiday gatherings, cookie exchanges, or simply enjoying with a warm cup of cocoa, these festive treats will quickly become a seasonal favorite in your home.
Whether you’re new to gluten-free baking or a seasoned pro, this recipe delivers consistent, delicious results every time. Let’s dive into creating these minty marvels that everyone can enjoy!
Ingredients List

- 2 cups gluten-free flour blend – Look for one with xanthan gum included, or add ¼ teaspoon if yours doesn’t contain it
- ½ teaspoon baking soda – Ensures the perfect rise
- ¼ teaspoon salt – Balances the sweetness
- ½ cup unsalted butter – Softened to room temperature (can substitute with dairy-free butter for a completely dairy-free option)
- ¾ cup granulated sugar – Provides the classic cookie sweetness
- ½ cup packed brown sugar – Adds moisture and a caramel note
- 1 large egg – Acts as a binder (can substitute with a flax egg for vegan option)
- 1 teaspoon vanilla extract – Enhances the flavor profile
- 1 teaspoon peppermint extract – The star flavor component
- ½ cup crushed peppermint candies – For that festive crunch and appearance
- Optional: ½ cup white chocolate chips – Adds creamy sweetness (ensure they’re gluten-free)
Timing
Preparation time: 20 minutes to measure ingredients and mix the dough
Chilling time: 30 minutes (essential for the best texture and preventing spread)
Baking time: 10-12 minutes per batch
Total time: Approximately 1 hour and 15 minutes, which is comparable to traditional cookie recipes but delivers superior results for gluten free peppermint cookies.
Step-by-Step Instructions
Step 1: Prepare Your Workspace
Preheat your oven to 350°F (175°C) and line two baking sheets with parchment paper. Ensure all ingredients are at room temperature for optimal mixing. This simple preparation step prevents cross-contamination, crucial for truly gluten-free baking.
Step 2: Mix Dry Ingredients
In a medium bowl, whisk together the gluten-free flour blend, baking soda, and salt. This pre-mixing ensures even distribution of leavening agents and prevents flour pockets in your finished cookies. For extra-tender cookies, sift the flour mixture to incorporate air.
Step 3: Cream Butter and Sugars
In a large bowl, use an electric mixer to cream together the softened butter, granulated sugar, and brown sugar until light and fluffy, about 2-3 minutes. Don’t rush this step—proper creaming creates air pockets that give your cookies their perfect texture.
Step 4: Add Wet Ingredients
Beat in the egg, vanilla extract, and peppermint extract until fully incorporated. Scrape down the sides of the bowl to ensure everything is evenly mixed. The peppermint extract provides that signature holiday flavor without being overwhelming.
Step 5: Combine Wet and Dry Mixtures
Gradually add the dry ingredients to the wet ingredients, mixing on low speed until just combined. Over-mixing can develop the proteins in gluten-free flour, leading to tough cookies. Stop mixing as soon as no dry flour is visible.
Step 6: Fold in Mix-ins
Gently fold in the crushed peppermint candies and white chocolate chips (if using) with a rubber spatula. Reserve a small amount of crushed peppermint for topping the cookies before baking. This creates both internal flavor and a festive appearance.
Step 7: Chill the Dough
Cover the dough and refrigerate for at least 30 minutes. This crucial step solidifies the fats, preventing excessive spreading during baking and intensifying the flavors as they meld together. Don’t skip this step, even if you’re short on time!
Step 8: Shape and Bake
Using a cookie scoop or tablespoon, form dough balls about 1½ inches in diameter. Place them on the prepared baking sheets, leaving about 2 inches between each cookie. Slightly flatten each ball and sprinkle with reserved crushed peppermint.
Step 9: Bake to Perfection
Bake for 10-12 minutes until the edges are just set but the centers still look slightly underdone. The cookies will continue cooking on the hot baking sheet after removal from the oven. For perfectly round cookies, use a round cookie cutter to gently shape them while still warm.
Step 10: Cool and Enjoy
Allow the gluten free peppermint cookies to cool on the baking sheet for 5 minutes before transferring to a wire rack to cool completely. This prevents them from breaking while still warm and allows the texture to set properly.
Nutritional Information
Each cookie (based on a yield of 24 cookies) contains approximately:
Calories: 125
Total Fat: 5g
Saturated Fat: 3g
Cholesterol: 18mg
Sodium: 75mg
Total Carbohydrates: 19g
Dietary Fiber: 0.5g
Sugars: 12g
Protein: 1g
These gluten free peppermint cookies contain about 20% fewer calories than traditional peppermint cookies, making them a slightly lighter option for holiday indulgence without sacrificing flavor or texture.
Healthier Alternatives for the Recipe
For a lower-sugar version, reduce the granulated sugar to ½ cup and use a stevia-brown sugar blend instead of full brown sugar. This modification cuts approximately 30% of the sugar content while maintaining sweetness.
Replace the butter with coconut oil (solid state) for a dairy-free alternative that adds a subtle complementary flavor to the peppermint. Ensure you still chill the dough, as coconut oil melts at a lower temperature than butter.
For added nutrition, incorporate 2 tablespoons of ground flaxseed into the dry ingredients. This boosts the fiber content and adds beneficial omega-3 fatty acids without affecting the taste or texture significantly.
Consider using naturally colored peppermint pieces (from dye-free candy canes) for those sensitive to artificial food coloring, creating a more natural yet equally festive appearance.
Serving Suggestions
Pair these cookies with a mug of dark hot chocolate for a cozy winter treat. The contrast between the rich chocolate and refreshing peppermint creates a classic holiday flavor combination.
Create mini ice cream sandwiches by placing a small scoop of vanilla ice cream between two completely cooled cookies. Roll the edges in additional crushed peppermint for an extra-special dessert.
Arrange on a tiered platter with other gluten-free holiday cookies for an impressive dessert table that accommodates all your guests’ dietary needs.
Package in decorative tins lined with parchment paper for a thoughtful homemade gift. Include a note with storage instructions and the recipe for a personal touch that friends and family will appreciate.
Common Mistakes to Avoid
- Using cold ingredients – Cold butter won’t cream properly with sugar, resulting in dense cookies. Allow all refrigerated ingredients to reach room temperature before beginning.
- Skipping the dough chilling step – This leads to flat, spread-out cookies that lose their chewy texture. Patient bakers are rewarded with perfectly shaped, tender cookies.
- Adding too much peppermint extract – Peppermint extract is potent! Measure carefully to avoid overwhelming mintiness that can taste medicinal rather than pleasant.
- Overbaking – Gluten-free cookies continue to firm up as they cool. Remove them from the oven when they still look slightly underdone for the perfect chewy texture.
- Using a gluten-free flour blend without xanthan gum – This crucial ingredient provides the structure that gluten normally would. Without it, your cookies may crumble apart.
Storing Tips for the Recipe
Store completely cooled cookies in an airtight container at room temperature for up to 5 days. Place parchment paper between layers to prevent sticking and preserve the peppermint topping.
For longer storage, freeze the baked cookies for up to 3 months. Thaw at room temperature for about 30 minutes before serving to restore their chewy texture.
The cookie dough can be frozen for up to 2 months. Form into balls, flash-freeze on a baking sheet, then transfer to a freezer bag. Bake directly from frozen, adding 2-3 minutes to the baking time.
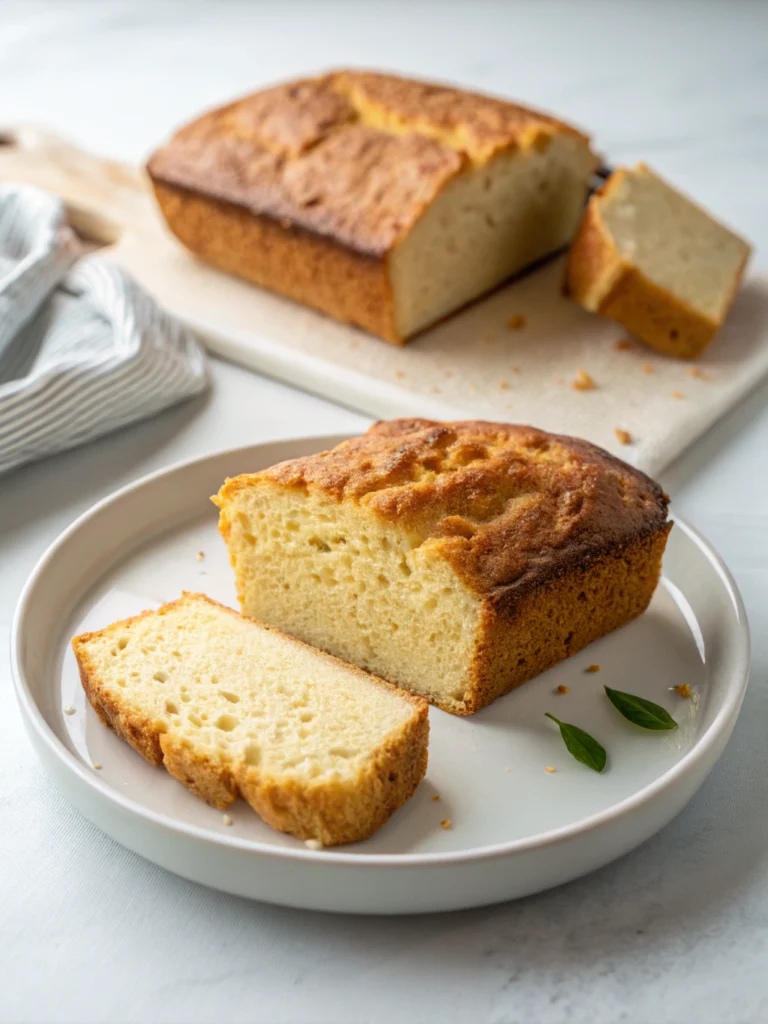
For the freshest taste, store cookies with a slice of bread in the container. The bread will give its moisture to the cookies, keeping them soft without affecting their flavor.
Conclusion
These festive and flavorful gluten-free peppermint cookies prove that dietary restrictions don’t mean missing out on holiday traditions. With their perfect balance of sweetness, minty freshness, and satisfying texture, they’re sure to become a seasonal staple in your baking repertoire.
Have you tried making these delightful treats? Share your experience in the comments below! Did you try any variations or have tips for fellow bakers? We’d love to hear how these cookies brightened your holiday celebrations. And if you’re looking for more gluten-free holiday recipes, be sure to check out our collection of festive treats everyone can enjoy!